In this step of the tutorial you learn how to show the content of a Page or Page Host node in a popup window.
Show the Settings node in a popup window
In this section you add structure to the Settings node and set it up so that it is shown on top of the Home, Media, and Car applications.
If you always want to show the content of a Page or a Page Host node in a popup window on top of all the other content in your application, you have to place that Page or Page Host node as the last node in the scene graph so that Kanzi always renders it on top of everything.
To show the Settings node in a popup window:
In the Pages in the top-right corner of the Page Host node Settings click to enable the Keep Active property. When you enable the Keep Active property Kanzi activates that Page or Page Host node whenever its parent Page or Page Host node is active. When a Page or a Page Host node is active its content is shown and you can interact with it. Because the Settings node holds content that is shown in the application user interface as a popup window on top of all the other application content, the Settings node itself is empty and shows content from its child Page nodes.
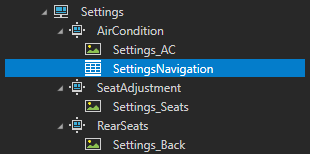
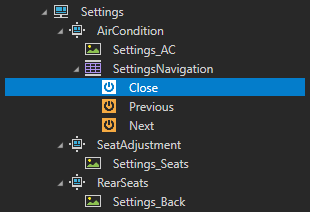
In the Pages at the bottom of the Page Host node Settings click three times to create three child Page nodes under the Settings node, and name them AirCondition, SeatAdjustment, and RearSeats.
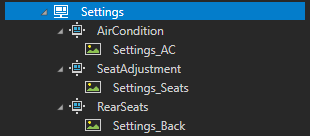
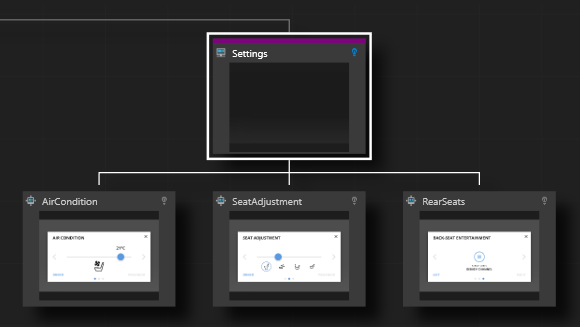
From the Assets to the Pages window drag and drop:
Settings_AC texture to the AirCondition node
Settings_Seats texture to the SeatAdjustment node
Settings_Back texture to the RearSeats node
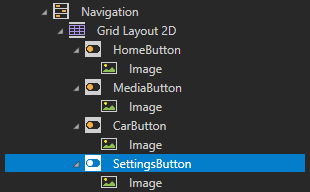
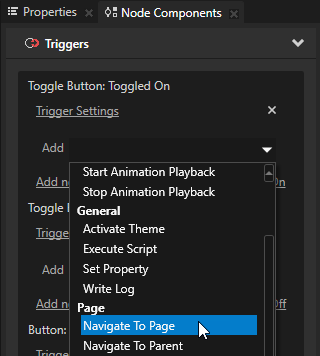
In the Project select the SettingsButton node, in the Node Components > Triggers section in the Toggle Button: Toggled On trigger click the Add dropdown menu, select the Navigate to Page action, and select the AirCondition node.
Dim the selected Page node when the Settings popup window is open:
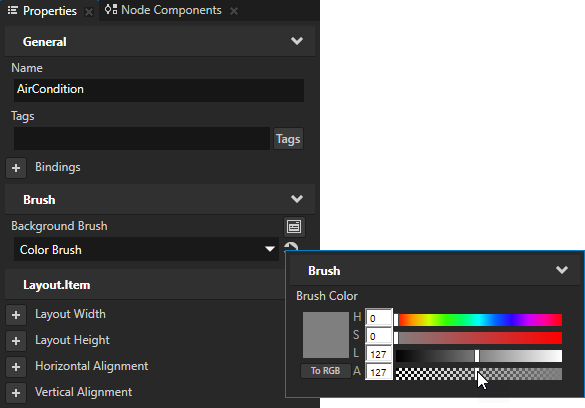
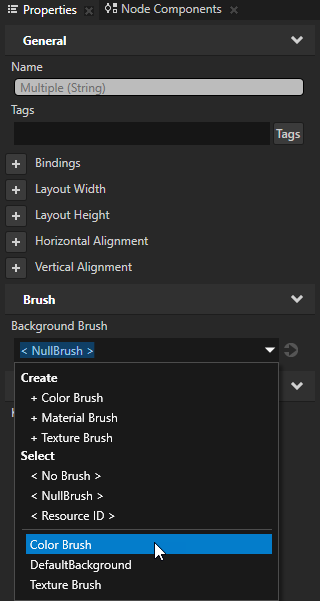
In the Project select the AirCondition node, in the Properties add the Background Brush property, select + Color Brush, click next to the property name, and set the Alpha (A) to 127 to make the Color Brush transparent gray.
In the Project select the SeatAdjustment and RearSeats nodes, in the Properties add the Background Brush property, and set it to the Color Brush you created in the previous step.
Create the navigation for the Settings popup window
In this section you create the navigation for the Page nodes AirCondition, SeatAdjustment, and RearSeats in the Settings popup window. With the navigation you enable the users to navigate between Page nodes in the Page Host node Settings, and close the popup window.
To create the navigation for the Settings popup window:
In the Projectpress Alt and right-click the AirCondition node, select Grid Layout 2D, and name it SettingsNavigation.
In the Preview use the Node tool to position and resize the SettingsNavigation node so that it covers the close, previous, and next buttons in the Image node Settings_AC.
In the Project select the SettingsNavigation node and in the Properties:
In the Columns and Rows click to remove one column and one row. You need only two columns and two rows in the Grid Layout 2D node. You use the first row and second column for the close button, and both columns in the second row for the previous and next buttons.
Set all columns and rows to Proportional. This way each column and row takes an equal amount of space in the Grid Layout 2D node.
Create the navigation buttons:
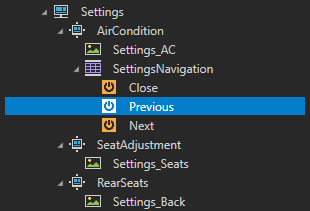
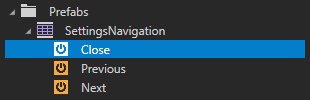
In the Project in the SettingsNavigation node create three Button 2D nodes and name them Close, Previous, and Next.
In the Project select the Close node and in the bottom-right corner of the Properties click to open the Add Properties window. In the left column of the Add Properties window double-click the Column and Row properties to add them to the node you selected. In the left column of the Add Properties window that opens you can see which properties you can add to the node you selected in the Project window. To quickly find a property, type the first few letters of a property name in the search box of the Add Properties window.
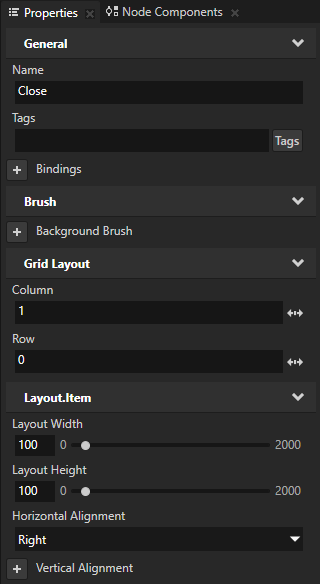
In the Project select the Close node and in the Properties add and set:
Column to 1
Row to 0
Layout Width to 100
Layout Height to 100
Horizontal Alignment to Right
This way you place the Close node in the second column of the first row, set its size, and align it to the right side.
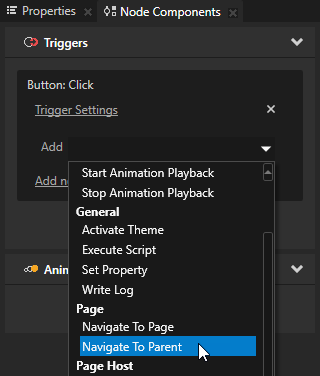
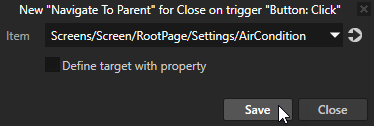
In the Project select the Close node, in the Node Components > Triggers section in the Button: Click trigger click the Add dropdown menu, select the Navigate to Parent action, and select the AirCondition node. You select the AirCondition page because when the user clicks the Close button, you want the application to navigate to its parent Page node, which is the Page Host node Settings. Since the Settings node does not contain any content, this action closes the Settings popup window.
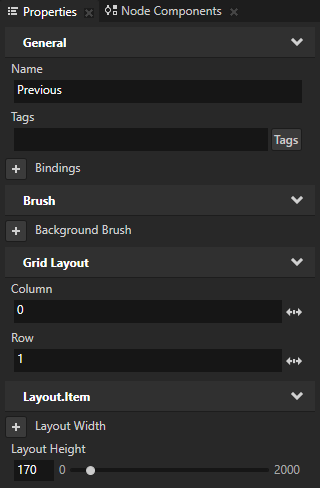
In the Project select the Previous node and in the Properties add and set:
Column to 0
Row to 1
Layout Height to 170
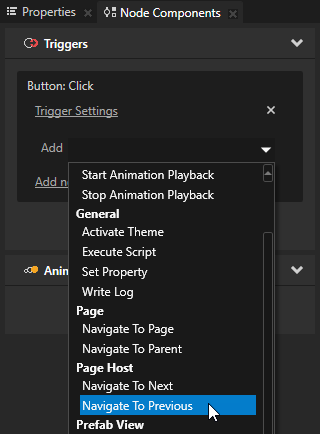
In the Project select the Previous node, in the Node Components > Triggers section in the Button: Click trigger click the Add dropdown menu, select the Navigate to Previous action, and select the Settings node. In the Navigate to Next and Navigate to Previous actions you select the parent Page or Page Host node of the node which contains the Page nodes between which you want to navigate.
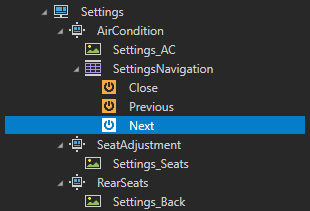
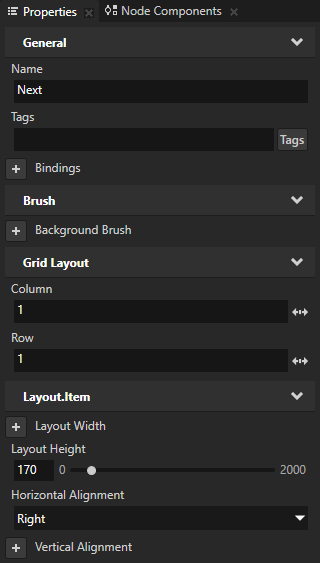
In the Project select the Next node and in the Properties add and set:
Column to 1
Row to 1
Layout Height to 170
Horizontal Alignment to Right
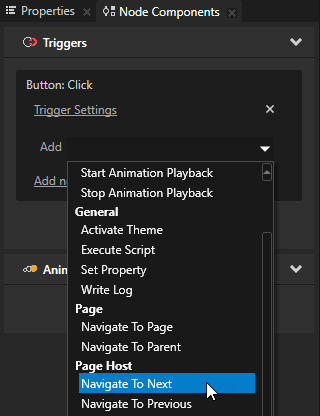
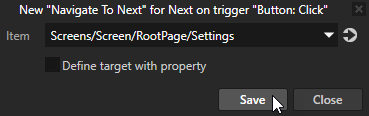
In the Project select the Next node, in the Node Components > Triggers section in the Button: Click trigger click the Add dropdown menu, select the Navigate to Next action, and select the Settings node.
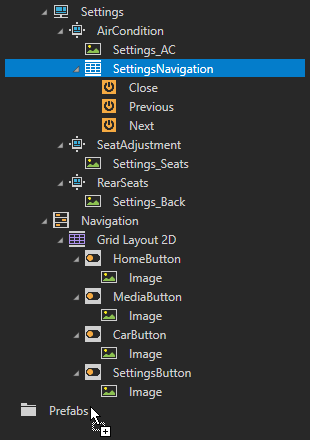
In the Project drag the SettingsNavigation node to the Prefabs. You create a prefab from the SettingsNavigation node so that you can reuse it in the other Page nodes in Settings. When you drop a node into Prefabs, Kanzi Studio creates a prefab template from the node and replaces the original node with an instance of the prefab.
From the Project > Prefabs drag the SettingsNavigation prefab to the SeatAdjustment and RearSeats nodes to add the navigation buttons to those Page nodes.
Highlight the correct button in the application navigation
In this section you use a JavaScript script to check which application the user selected and to highlight the correct button in the application navigation.
To highlight the correct button in the application navigation:
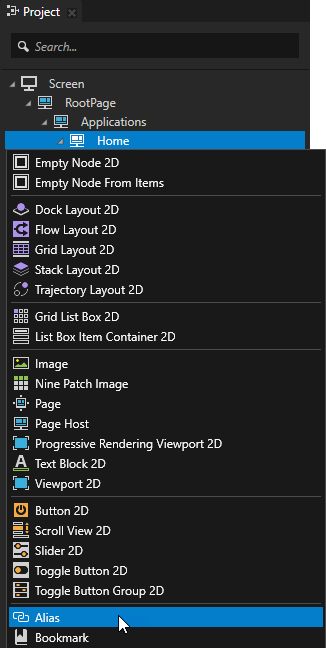
In the Projectpress Alt and right-click the Applications > Home node and select Alias. Kanzi Studio creates an alias pointing to the node from which you created the alias and adds it to the resource dictionary of its nearest ancestor node that contains a resource dictionary. Here you use the alias for easy access to the node in the JavaScript script.
TIP
You can retrieve alias target nodes with bindings, the Kanzi Engine API, or scripting using the hash sign (#) followed by the name of the alias, regardless of the node location in the project. For example, #Home.
TIP
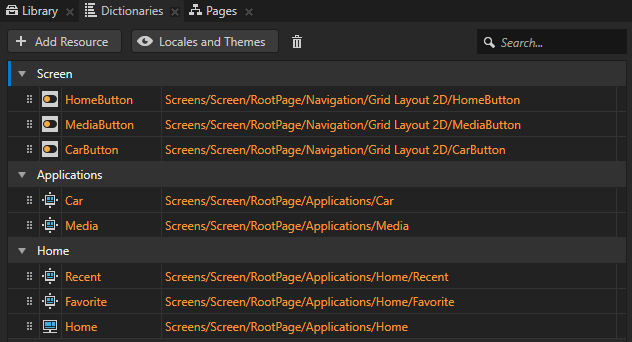
You can see in the Dictionaries window the list of resources in the resource dictionaries that the node selected in the Project can access.
Repeat the previous step for nodes:
Home > Recent
Home > Favorite
Applications > Media
Applications > Car
Navigation > Grid Layout 2D > HomeButton
Navigation > Grid Layout 2D > MediaButton
Navigation > Grid Layout 2D > CarButton
In the Dictionaries window, drag the Media, Car, and Home aliases to the resource dictionary of the Screen node. To drag a resource from one resource dictionary to another, click next to the resource you want to move, and drag the resource to the resource dictionary where you want to move it. You move the aliases to the resource dictionary of the Screen node to make them accessible to all nodes in your project.
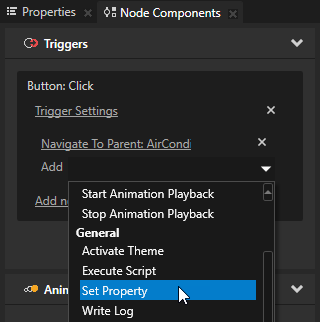
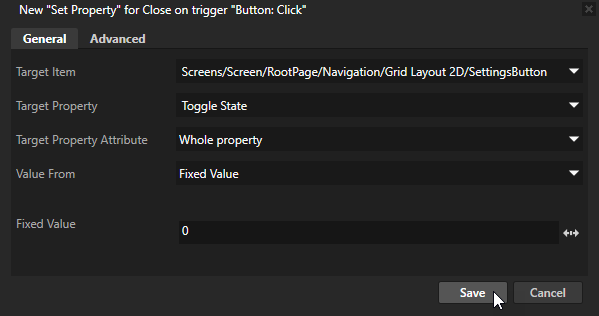
In the Project > Prefabs select the SettingsNavigation > Close node, in the Node Components > Triggers section in the Button: Click trigger click the Add dropdown menu, select the Set Property action, and set:
Target Item to the SettingsButton node
Target Property to Toggle State
Fixed Value to 0
Click Save. With this Set Property action you set the value of the Toggle State property in the SettingsButton to 0 when the user clicks the Close button in the Settings popup window. In the first step of this tutorial you created a state manager for each application button controlled by the Toggle State controller property. When this action changes the value of the Toggle Button controller property, the state manager transitions to the state you defined for that value.
Create the JavaScript script to check which application the user selected:
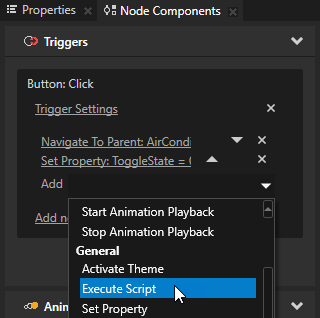
In the Project > Prefabs select the SettingsNavigation > Close node, in the Node Components > Triggers section in the Button: Click trigger click the Add dropdown menu, select the Execute Script action.
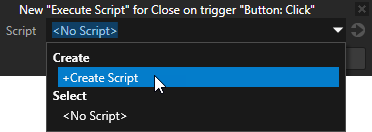
In the Execute Script window select + Create Script to create a new script. The Script Editor window opens.
In the Script Editor enter this script.
// Get the HomePage Host node.
// Access alias target nodes using the # sign followed by the name of the alias.
var homePage = node.lookupNode('#Home');
// Get the Navigation > Grid Layout 2D > HomeButton 2D node.
var homeButton = node.lookupNode('#HomeButton');
// The value of the Page.State property tells whether the Page or Page Host node is active:
// - If the value is 0, the node is inactive and invisible.
// - If the value is 1, the node is active and visible.
var homeActive = homePage.getProperty('Page.State');
var mediaPage = node.lookupNode('#Media');
var mediaButton = node.lookupNode('#MediaButton');
var mediaActive = mediaPage.getProperty('Page.State');
var carPage = node.lookupNode('#Car');
var carButton = node.lookupNode('#CarButton');
var carActive = carPage.getProperty('Page.State');
// Check which of the application Page nodes is active and set the Toggle State for the button of that application to 1.
// The Toggle State controller property controls the state of these toggle buttons.
if (homeActive == 1)
{
homeButton.setProperty('ButtonConcept.ToggleState', 1);
}
else if (mediaActive == 1)
{
mediaButton.setProperty('ButtonConcept.ToggleState', 1);
}
else if (carActive == 1)
{
carButton.setProperty('ButtonConcept.ToggleState', 1);
}
In the Script Editor click Save. In the Preview click to enter the Interact mode. Click the buttons in the application you just created to see how the functionality corresponds to the structure you created with the Page and Page Host nodes.
In this tutorial you learned how to create application flow and structure with the Page and Page Host nodes using the Pages tools. To continue learning Kanzi you can:
Learn how to how to define an XML data source and how to use the data from that data source in a Kanzi Studio project to provide the data to a Kanzi application. See Tutorial: Get application data from a data source.
 to enable the Keep Active property.
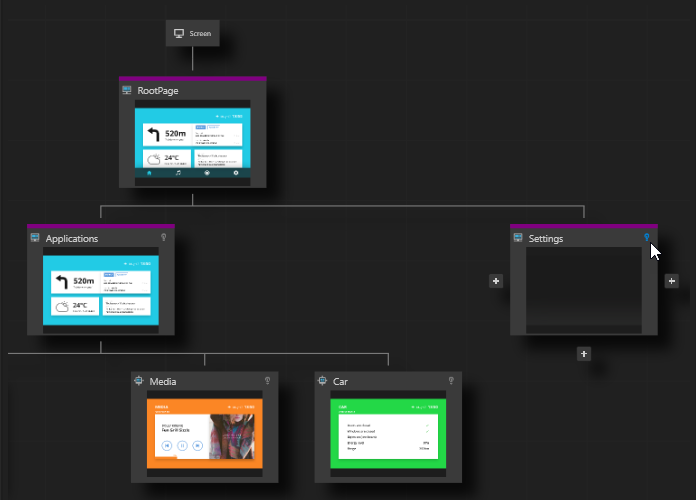
 three times to create three child Page nodes under the Settings node, and name them AirCondition, SeatAdjustment, and RearSeats.
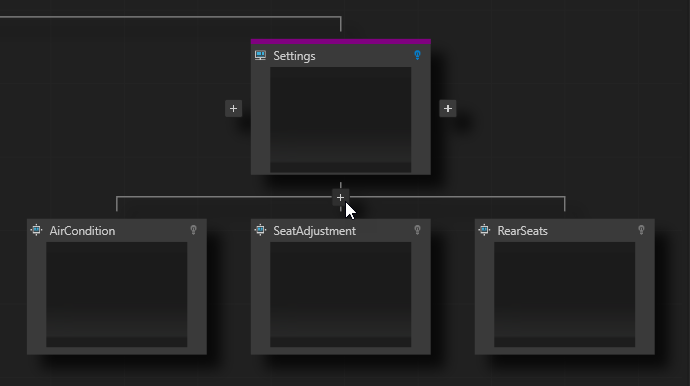

 next to the property name, and set the Alpha (A) to 127 to make the Color Brush transparent gray.
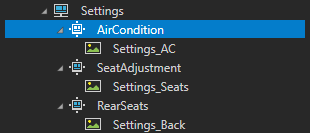

 to position and resize the
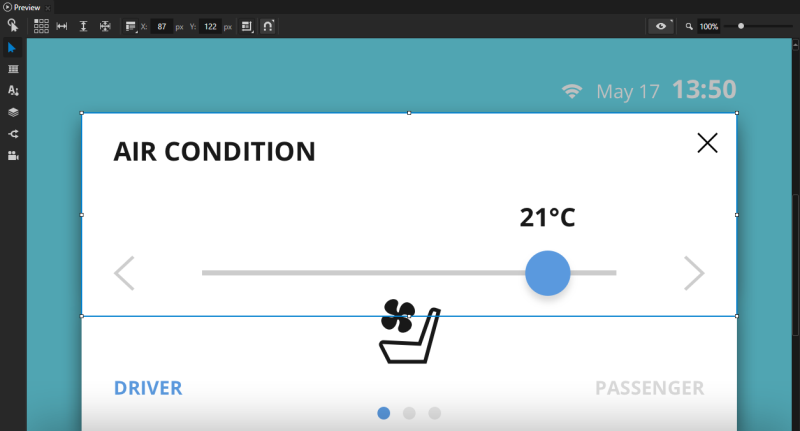
 to remove one column and one row.

 to open the
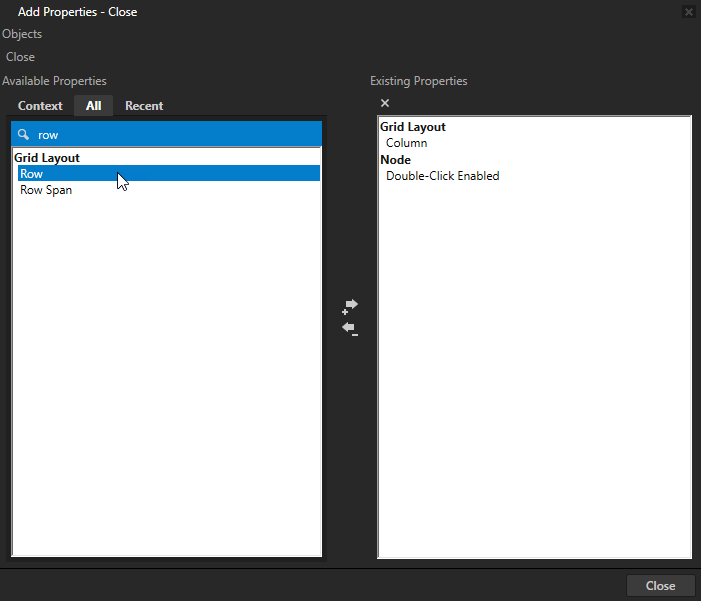


 next to the resource you want to move, and drag the resource to the resource dictionary where you want to move it.
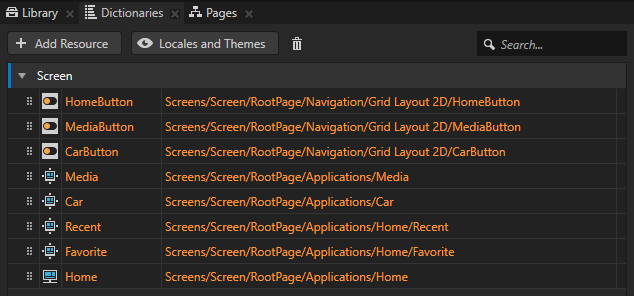
 to enter the